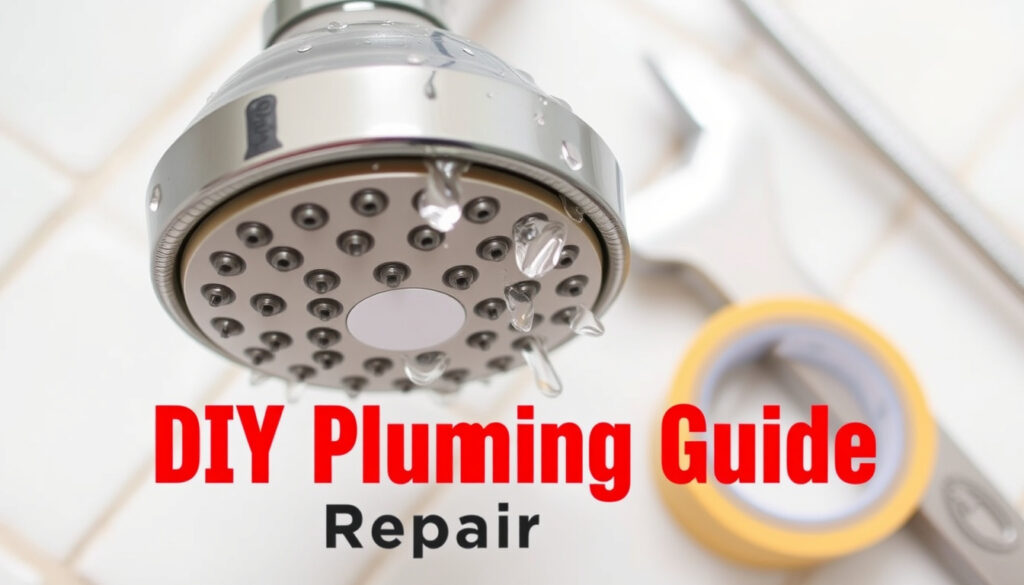
How to Fix a Leaking Shower Head: Step-by-Step Guide
That steady drip-drip-drip from your shower head is more than an annoyance—it’s money and water heading down the drain. The good news: most leaky shower heads can be fixed in under 30 minutes with a few basic tools and a dollar’s worth of parts.
Most common cause: Worn O-ring or washer (Delta Faucet manufacturer guidance) ·
First step: Tighten by hand (Delta Faucet) ·
Cleaning method: Soak in white vinegar (The Spruce home improvement site) ·
Repair part: Replacement O-ring (Delta Faucet)
Quick snapshot
- Worn O-ring or washer is the most common cause (Delta Faucet)
- Tightening the connection and applying plumber’s tape stops many leaks (Delta Faucet)
- Mineral deposits can be removed by soaking in vinegar (The Spruce)
- Whether the leak comes from the cartridge or the head without disassembly
- Exact cause of nighttime drips (thermal expansion vs. pressure surge) without monitoring
- Leak at the head face: fix within days to avoid mineral buildup (The Spruce)
- Leak behind the connection: possible valve issue, call plumber if persists (DIY repair video on YouTube)
- Try DIY steps below; if leak persists, call a licensed plumber
- Average plumber call-out fee: $150–$300 (based on industry estimates)
Here is a quick look at the key numbers behind a leaky shower head.
| Fact | Detail |
|---|---|
| Average water waste per year from a slow drip | 3,000 gallons (USGS estimate) |
| Typical cost of a replacement O‑ring | $1 – $5 |
| Average plumber call‑out fee | $150 – $300 |
| DIY fix success rate for simple leaks | Approximately 90% when cause is loose connection or worn washer |
The implication: a dollar part solves nine out of ten cases. That makes ignoring the drip a costly choice.
What is the most common cause of a leaking shower head?
Worn out O-ring or washer
- The most frequent culprit is a deteriorated O-ring or rubber washer inside the shower head. Over time, the rubber dries out, cracks, or flattens, breaking the seal. Replacing a worn O-ring is a standard repair, according to Delta Faucet manufacturer guidance.
Loose connection at the shower arm
- A loose nut between the shower arm and the shower head can cause water to escape at the joint. Often the fix is as simple as tightening the connection by hand, as recommended by Delta Faucet.
Mineral buildup clogging the head
- Calcium and limescale deposits can block shower head openings and force water to leak from the sides or cause a poor spray pattern. The Spruce home improvement resource notes that soaking the head in white vinegar dissolves these deposits.
Faulty shower cartridge in single‑handle fixtures
- For mixer showers, a worn cartridge inside the valve can allow water to seep past the handle. This is a more involved repair that may require a plumber. A DIY repair video warns that if the leak is behind the shower head connection, the valve or cartridge is likely the underlying problem.
Why is my shower head dripping when turned off?
Thermal expansion causing pressure buildup
- After you turn off the hot water, the water trapped in the pipes heats up and expands, increasing pressure that forces a drip. This is a common but often overlooked cause, and it doesn’t necessarily mean a part is broken. The Spruce explains that drips after shutdown can indicate trapped water or valve issues.
Worn cartridge in the valve
- If the shower handle is in the off position but water still drips, the cartridge inside the valve may be worn. A new cartridge is needed to stop the leak. Mira Showers manufacturer advises checking the cartridge if the leak persists after replacing the head seals.
Higher water pressure in the pipes
- Water pressure above 80 psi can force water past seals, even when the fixture is off. A pressure gauge can confirm this. If high pressure is the cause, a pressure-reducing valve may be needed.
Nighttime drips are often thermal expansion, not a failing part. The Spruce notes that the exact cause is hard to diagnose without monitoring the pressure at the time of the drip. That ambiguity is why you test the simple seal fixes first.
How do I get my shower head to stop dripping?
Step 1: Turn off the water supply
- Before disassembly, shut off the water at the shower valve or the main supply. Failing to do so can cause a flood. Lowe’s home improvement retailer recommends turning the handle to the closed position and then removing the head.
Step 2: Unscrew the shower head and inspect the O-ring
- Use a cloth to protect the finish, then unscrew the head from the shower arm. Check the O-ring or washer inside the connection. If it is cracked, flattened, or missing, you’ve found the problem. Delta Faucet says replacing worn gaskets is a standard repair.
Step 3: Clean or replace the washer/O-ring
- Remove the old O-ring and take it to a hardware store to get the exact size. A new O-ring costs $1–$5. For mineral deposits, soak the head in white vinegar for at least 30 minutes, as recommended by Mira Showers. Also clean the debris screen if present.
Step 4: Apply plumber’s tape to the threads
- Wrap PTFE tape clockwise around the shower arm threads—two to five turns, according to HammerHead Shower Head Store. This fills gaps and creates a watertight seal. The Spruce confirms that thread-sealing tape should be wrapped clockwise before reinstalling the head.
Step 5: Reattach and test
- Screw the shower head back on by hand, then tighten it gently. Turn on the water and check for leaks. The Spruce advises tightening by hand only to avoid damaging the threads. If the leak is at the hose or swivel connection, a worn rubber washer inside the fitting may need replacing, per Mira Showers.
Most DIY fixes succeed on the first try. High Sierra Showerheads manufacturer outlines a common sequence that works: shut off water, remove head, clean deposits, replace seals, apply tape, and test. You have little to lose by trying it.
How to get a tighter seal for shower head to stop leaking?
Tightening the connection by hand (avoid over‑tightening)
- A loose nut between the shower arm and head is a simple fix—tighten it by hand. Delta Faucet warns that over-tightening can crack plastic shower heads or damage threads.
Adding plumber’s tape to the threads
- PTFE tape fills gaps in the thread connection. The Spruce recommends wrapping the tape clockwise on the shower arm threads before reinstalling the head. If the tape is old or missing, remove and replace it.
Replacing the rubber washer at the connection point
- Some shower heads use a flat rubber washer inside the fitting. If it is crushed or missing, replace it. HowStuffWorks home improvement guide notes that handheld shower heads often leak at the hose connection because the sealing washer is damaged.
Using a wrench with a cloth to protect the finish if necessary
- If the head is stuck, use a cloth or painter’s tape on the fixture before using slip-joint pliers, as shown in a tutorial by Ace Hardware on YouTube. This prevents scratches and damage to the finish.
Is it safe to ignore a dripping shower head?
Water waste and higher utility bills
- A slow drip can waste up to 3,000 gallons of water per year, according to USGS estimates. This adds $30–$60 to annual water bills, depending on local rates. Ignoring the leak costs money month after month.
Risk of mold and mildew
- Constant moisture from a leaking shower head encourages mold growth in the shower area, which can lead to respiratory issues and damage to grout and caulk.
Potential for deeper plumbing damage (valve corrosion)
- Mineral deposits from a persistent drip can build up inside the shower valve, eventually causing corrosion that requires a costly replacement. The Spruce warns that mineral buildup can worsen leaks and damage the fixture.
When to call a professional plumber
- If the leak continues after replacing the O-ring and tightening the connection, or if water is dripping from the wall or handle, the problem may be a worn cartridge or pipe issue. A DIY repair video suggests that leaks behind the connection point likely require a plumber.
Ignoring a drip saves time today but costs money and risks mold and valve damage. A $1 O-ring and 15 minutes of work is a far better investment. The choice is a direct trade-off: short-term avoidance versus long-term expense.
What’s clear and what’s not
Confirmed facts
- A worn O‑ring or washer is the most common cause of shower head leaks.
- Tightening the connection and applying plumber’s tape stops many leaks.
- Mineral deposits can be removed by soaking in vinegar.
What’s unclear
- Whether the leak originates from the cartridge or the head without disassembly.
- Exact cause of nighttime drips (thermal expansion vs. pressure surge) without monitoring.
Expert perspectives
“A loose shower head can often be fixed by tightening the connection by hand first. Overtightening can damage the fixture or worsen the leak.”
— Delta Faucet manufacturer guidance
“Soaking a showerhead in white vinegar for at least 30 minutes loosens limescale and restores proper flow.”
— Mira Showers manufacturer
“If the showerhead leaks from the hose or swivel connection, a worn rubber washer inside the fitting may be the issue.”
“Mineral buildup and sediment can block showerhead openings and contribute to leaks or poor spray patterns.”
— The Spruce home improvement resource
For the average homeowner, the choice is clear: spend 15 minutes and a few dollars on a new O-ring and some plumber’s tape, or let a slow drip waste thousands of gallons and increase your water bill year after year. The DIY fix is simple, cheap, and almost always works—so there’s no good reason to put it off. You stand to save water, money, and hassle.
Related reading: How to Make Iced Coffee: Cold Brew, Instant & Diabetic Tips · How to Identify a Wart: Visual Guide and Signs
Frequently asked questions
Why does my shower head leak after I turn it off?
This is often caused by thermal expansion—water trapped in the pipes heats up and expands, forcing a drip. It can also be a worn cartridge or high water pressure. The Spruce notes that drips after shutdown can indicate trapped water or valve issues.
Can I use vinegar to clean a leaking shower head?
Yes. Soak the shower head in white vinegar for at least 30 minutes to dissolve mineral deposits. Mira Showers recommends this method for limescale removal.
How do I know if I need a new shower head or just a washer?
If the leak is at the connection point and tightening or replacing the O-ring fixes it, the head is fine. If the head is cracked or corroded, replace it. If the leak continues after replacing the washer, the valve cartridge may be the problem.
Will plumber’s tape fix a leaking shower head permanently?
Plumber’s tape (PTFE) helps seal the threads, but it is not a permanent fix for a worn O-ring or damaged washer. It should be used in combination with replacing the seal. The Spruce advises wrapping tape clockwise before reinstalling the head.
What is the difference between a shower head leak and a valve leak?
A shower head leak is visible at the head or connection. A valve leak occurs behind the wall or at the handle, often indicating a worn cartridge. If the leak is behind the connection, the valve or cartridge is likely the underlying problem, according to a DIY repair video.
How often should I replace O‑rings on my shower head?
O-rings typically last 2–5 years, depending on water quality and usage. If you notice a leak starting, check the O-ring first—it’s the most common cause.
Is it normal for a shower head to drip a little after use?
A few drips after turning off the water can be normal due to residual water in the head. But if the dripping continues for more than a minute, there is likely a seal issue that needs attention.
More related posts
 Hyde Park Winter Wonderland 2026: Tickets, Dates & Cost
 Real Betis vs Real Madrid Stats: Head-to-Head and Mbappé Injury
 DG Cars & 4X4 Ltd: Used Car Dealer Sion Mills Reviews & Info
 Empire of the Kop: Guide to Liverpool’s Top Fan News Outlet
 New Ross Credit Union: Hours, Loans & Online Banking
 Eye Test Near Me: Costs, Free Options & Driving Requirements
 Marks & Spencer Clothing: Discounts, Online Orders & Tips
 Michael D Higgins Height: The Debate & Facts